How to set up email in Apple Mail
Replace example.com with your domain name.
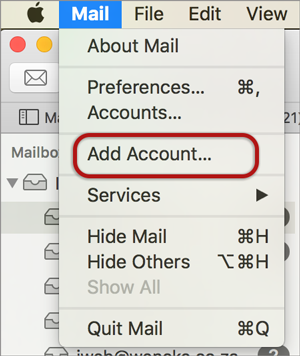
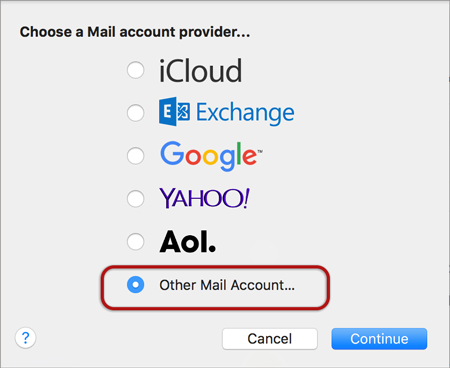
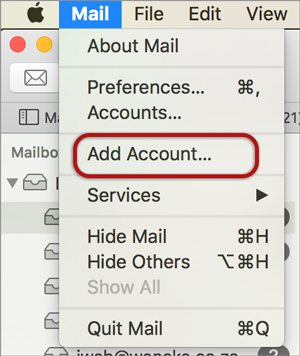
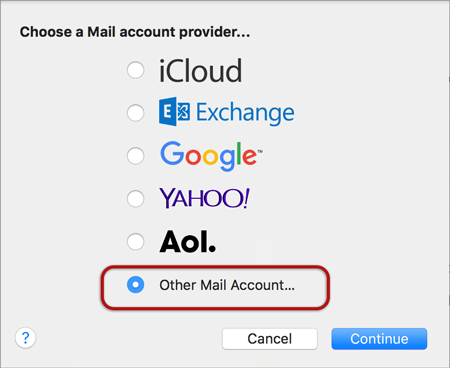
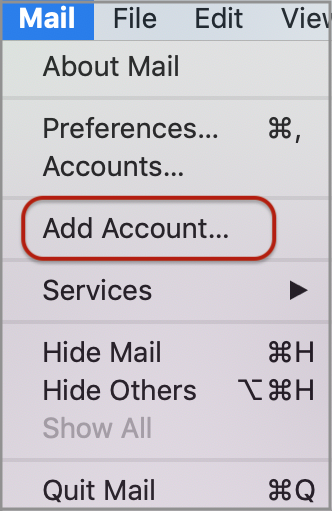
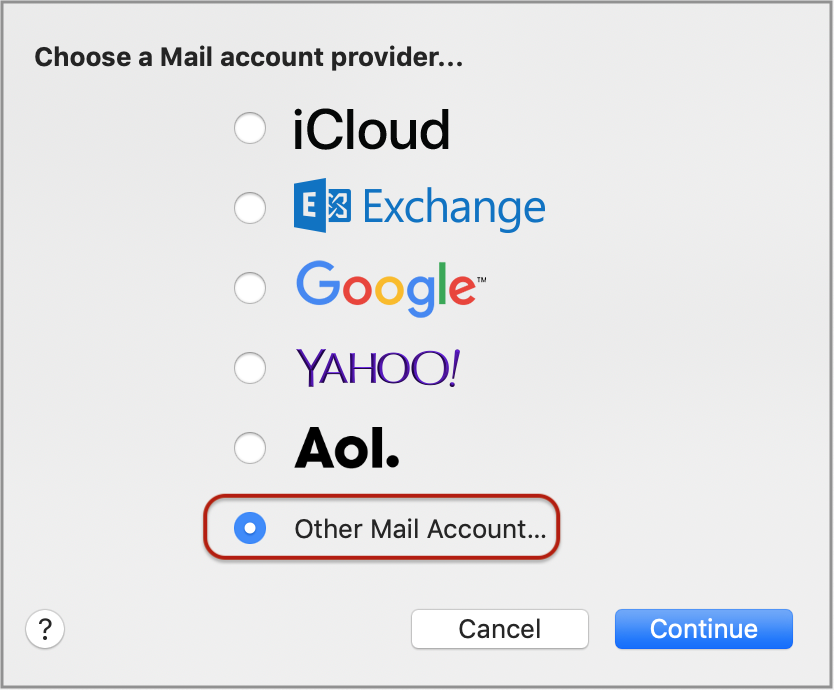
Add Account
1. Launch Apple Mail.
2. From the toolbar at the top, select File and then Add Account.

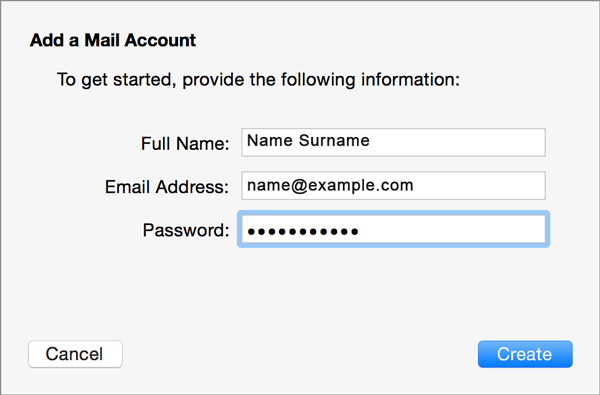
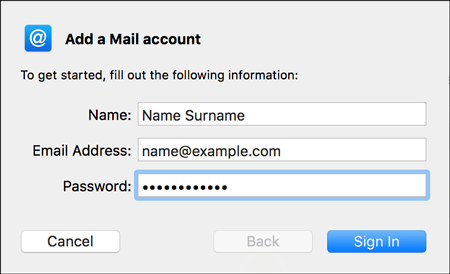
Apple Mail Setup
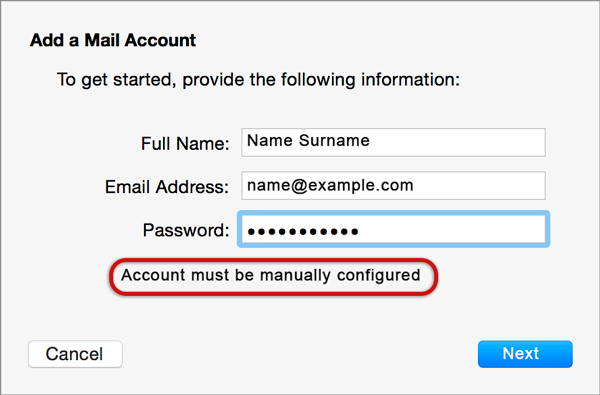
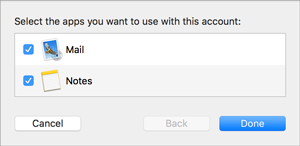
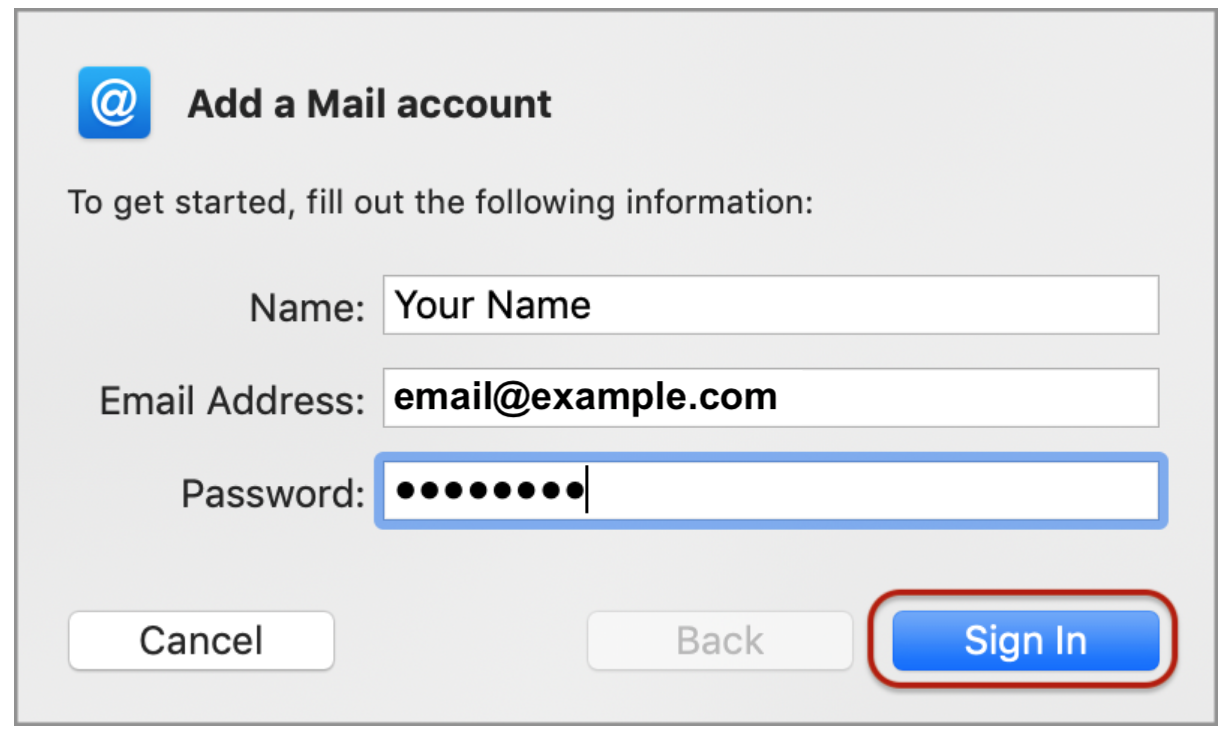
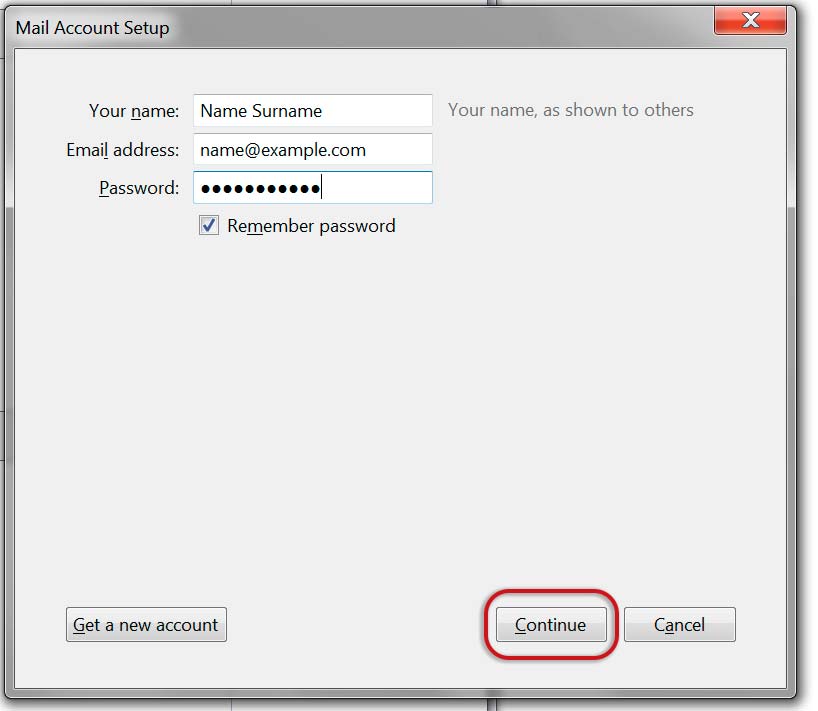
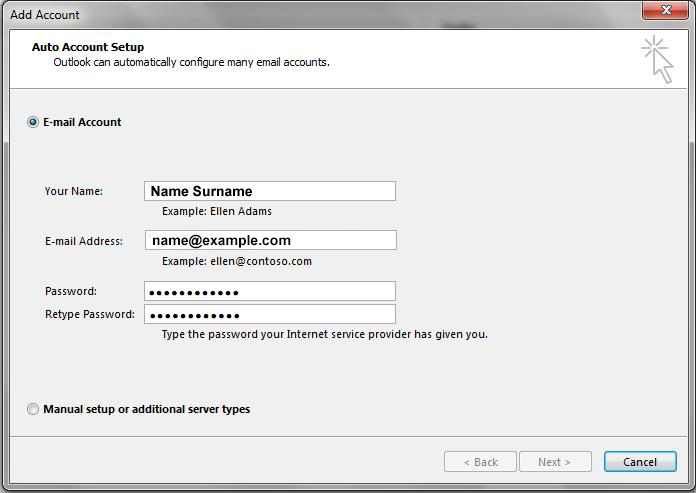
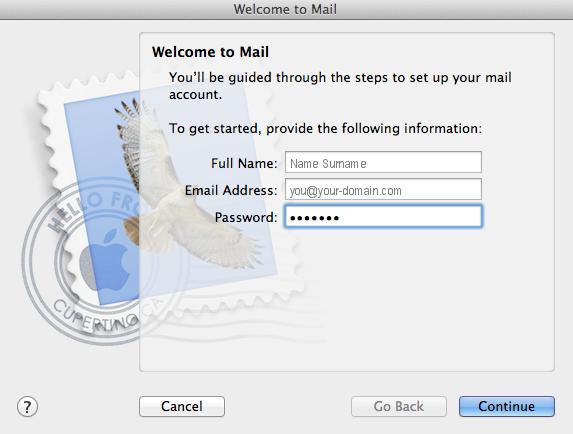
3. Enter your name (which will appear the “From” field in your emails), email address and password, then select Continue (forgotten passwords can be reset in your control panel)
Incoming Server Settings
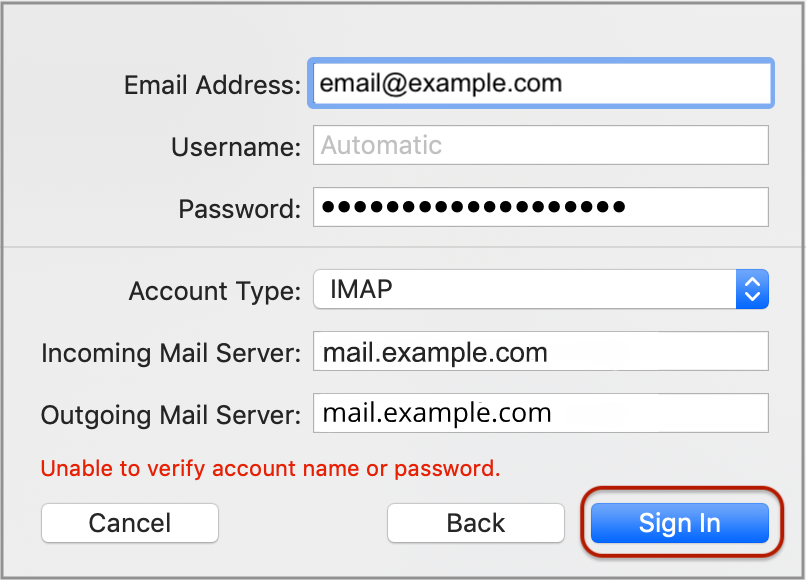
4. Complete the information:
- Account Type can be IMAP or POP (IMAP is default)
- Description (optional) e.g. your company name
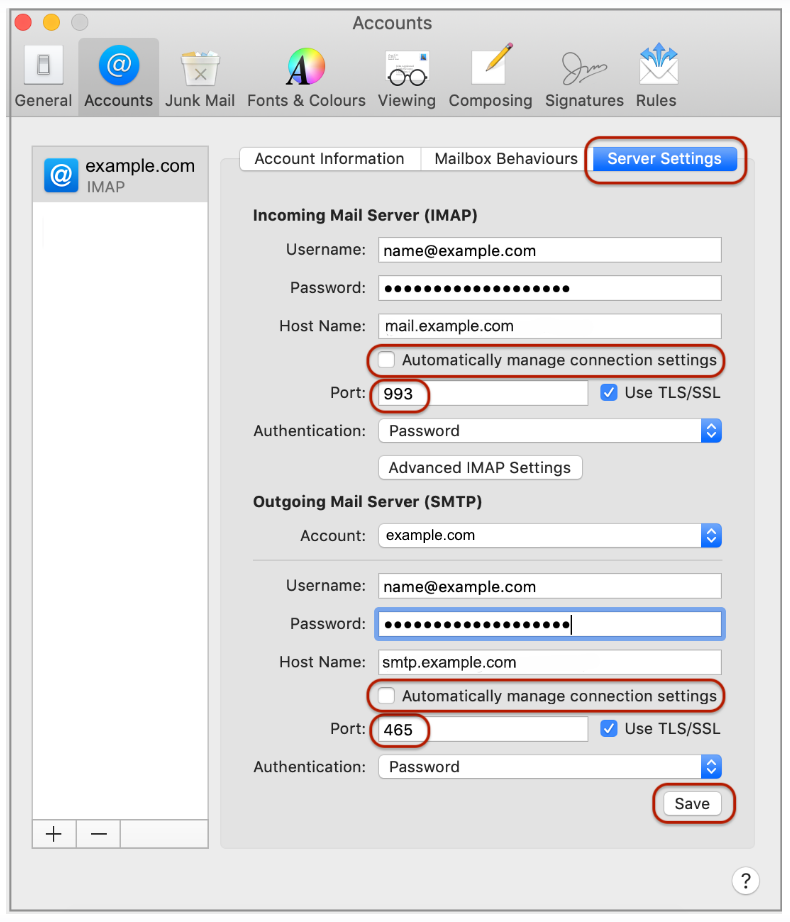
- Incoming Mail Server – has mail. before the domain name e.g. mail.example.com*
- User Name is your full email address
- Password is your mailbox password (as in the previous screen)
5. Apple Mail will now test the connection to the specified mail server. Once this is complete, select Continue.
Incoming Mail Security
6. When the Incoming Mail Security screen appears, ensure the Use Secure Socket Layer option is ticked. The authentication drop-down can remain on Password, select Continue.
Outgoing Server Settings
7. Complete the information:
- Description (optional) e.g. your company name
- Outgoing Mail Server –has mail. before the domain name e.g. mail.example.com*
- Use only this server can remain ticked
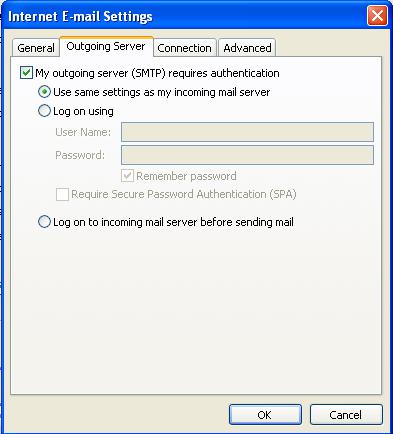
- Select Use Authentication
- User Name is your full email address
- Password is your mailbox password (as in the previous screen)
8. Select Continue
Account Summary
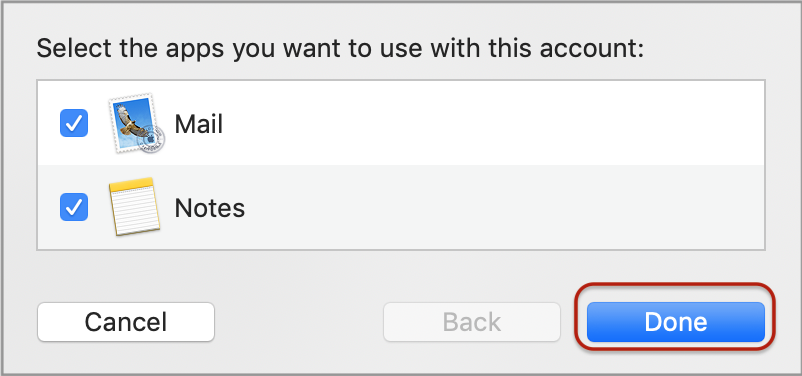
9. View the account summary and select Create. Ticking the Take my account online checkbox will ensure that your account is activated immediately.
* Note: In isolated cases mail.domain (e.g. mail.example.com) won’t work. In these cases you will need to use the server name instead